Steps
Method 1
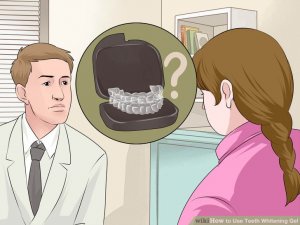
Applying the Gel- Ask your dentist to construct a fitted tray. A poorly fitted tray can be created by your dentist. The custom tray can fit the curves and contours of your teeth to properly cover all applicable surfaces, and maximize the ability of the gel. There are a few downsides if an ill-fitting tray:
- Tooth sensitivity can occur, but typically only lasts until the gel is removed.
- Gum irritation is a common side-effect of whitening gel. Slight burns may even appear.
- Some using whitening gels experience lips and throat as well.
- Consult with your dentist about using the gel. Depending on the type of gel and the construction of tray, there could be variations in the amount of gel to use. Have your dentist provide you with instructions on how to use the gel, when to use it and for how long. These things depend on your clinical status and desired final result as well as your oral hygiene and eating habits, which are crucial in the whitening procedure.
 Your dentist may even demonstrate gel use.
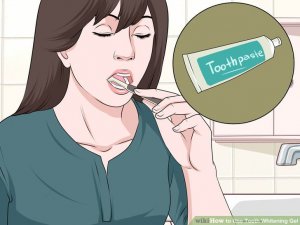
 - Desensitize and heal your mouth beforehand. To decrease the chances of experiencing sensitivity complications, you’ll want to condition your teeth with something containing potassium nitrate and fluoride. There are a few things you can do to make the transition easier.
- Brush using a de-sensitizing toothpaste for a few weeks prior to starting bleaching treatments.
- Allow ample time for any inner-mouth cuts to heal. Use plain glycerin or alcohol-free mouthwash if there are any existing mouth ulcers
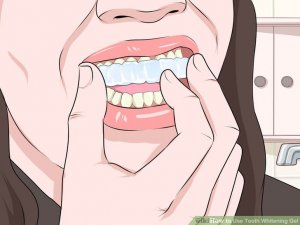
- Give your tray a bleach-free test-run for fit and comfort. Check if the margins of the tray go over your gum line for more than 4 mm. If the do, you will need to have it reshaped by your dentist.
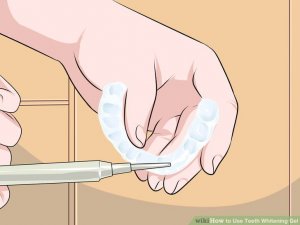
- Put a small amount of gel into the tray. Use either a dab per tooth or a small line into the front part of the tray. Do not fill the tray or spread the gel around.
 An ideal amount is about halfway up the inner front of the tray.
- Approximately 0.5 ml of gel is the amount per arch you’d like to apply.
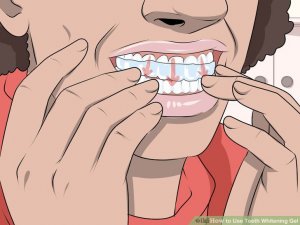
- Apply firm pressure and try moving the tray from left to right for a better distribution of the gel on your teeth. Do not push so hard the gel oozes outward.
- Some recommend bleaching just the front six to eight teeth since back teeth are rarely seen.
- Wipe away the excess materiel. Holding the tray firm with one hand, gently wipe away any excess that moves out towards the gums. Some recommend using a dry toothbrush, so there is not water dripping into the gel tray and diluting the product. Another method is to hold the tray firmly with one hand and use a tissue in the other hand to wipe the excess.
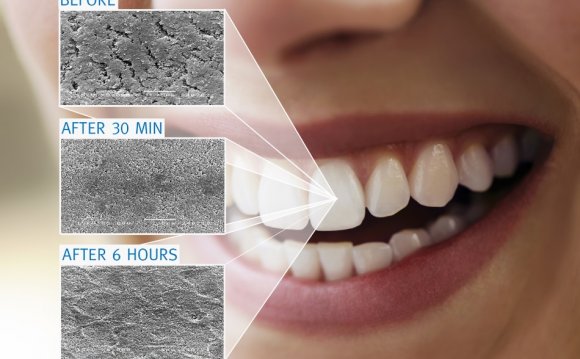
- Use the tray for the prescribed time. While the gels are almost universally made with Carbamide Peroxide or Hydrogen Peroxide, and the general strength falls anywhere between 10% and 22%, there are nonetheless differing application times. Most effectiveness is lost after the first two hours, so typical usage is for two to three hours per day.
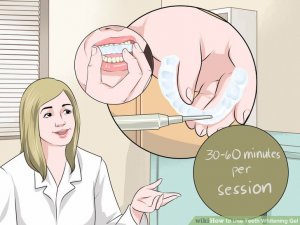
- Use the gel for 30–60 minutes the first time. Duration can be increased if there is no sensitivity.
- Hydrogen Peroxide gels are normally used 30–60 minutes per session, once or twice per day.
- Carbamide Peroxide bleaching gels are generally broken down into two larger groups of strength:
- 10%-16% – used for longer periods, two to four hours split into two sessions per day
- 20%-22% – used for 30–60 minutes once or twice per day
Source: www.wikihow.com
Share this Post
latest post
-
 Bleaching gel for Teeth whitening August 15, 2023
 -
 ACP Teeth whitening gel July 16, 2023
 -
 Average Cost Of Professional Teeth Whitening June 16, 2023
 -
 BleachBright Teeth Whitening Reviews May 30, 2023
 -
 Cost of teeth Whitening April 30, 2023
 -
 Natural teeth Whitener March 31, 2023
 -
 White Lightning Teeth Whitening Reviews March 1, 2023
 -
 Polanight Teeth whitening gel January 30, 2023
 -
 Enlighten Teeth Whitening Reviews November 1, 2022